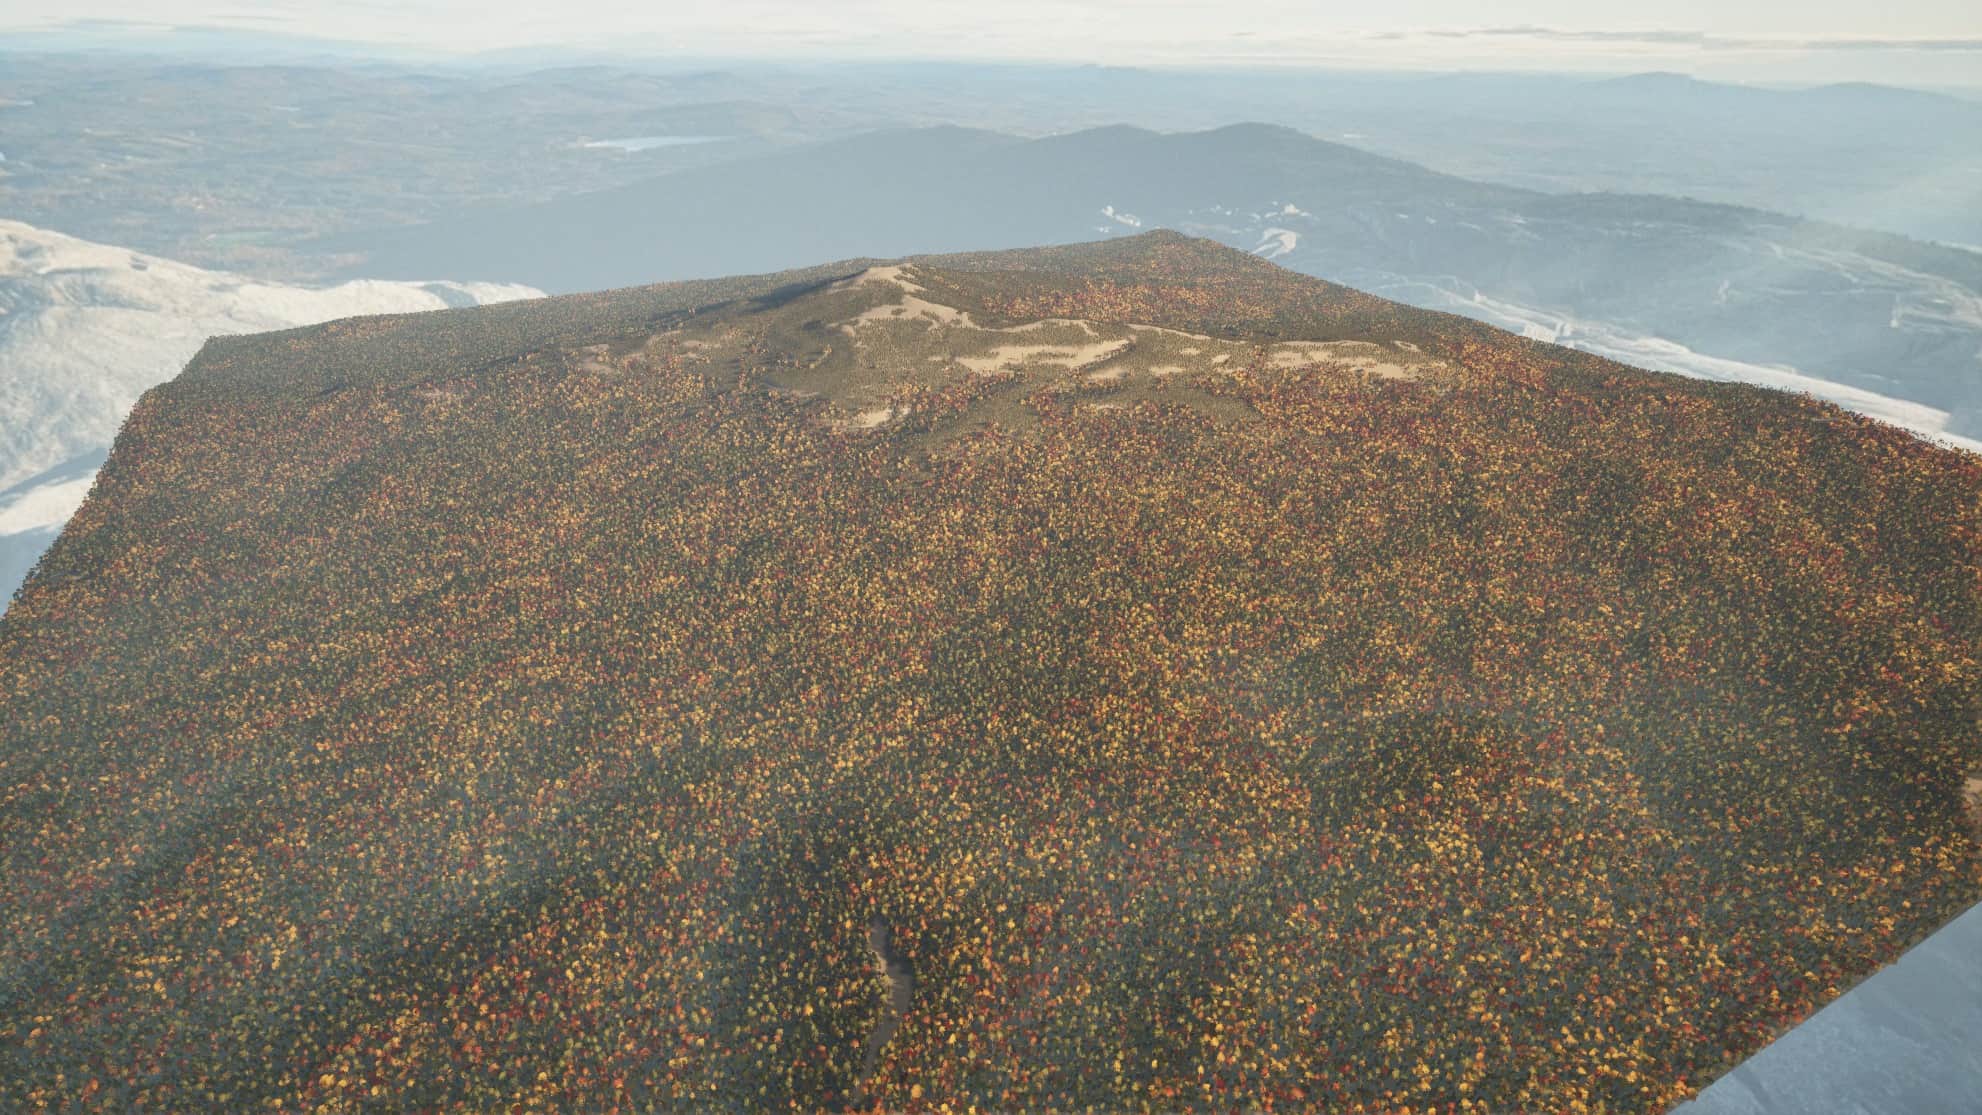
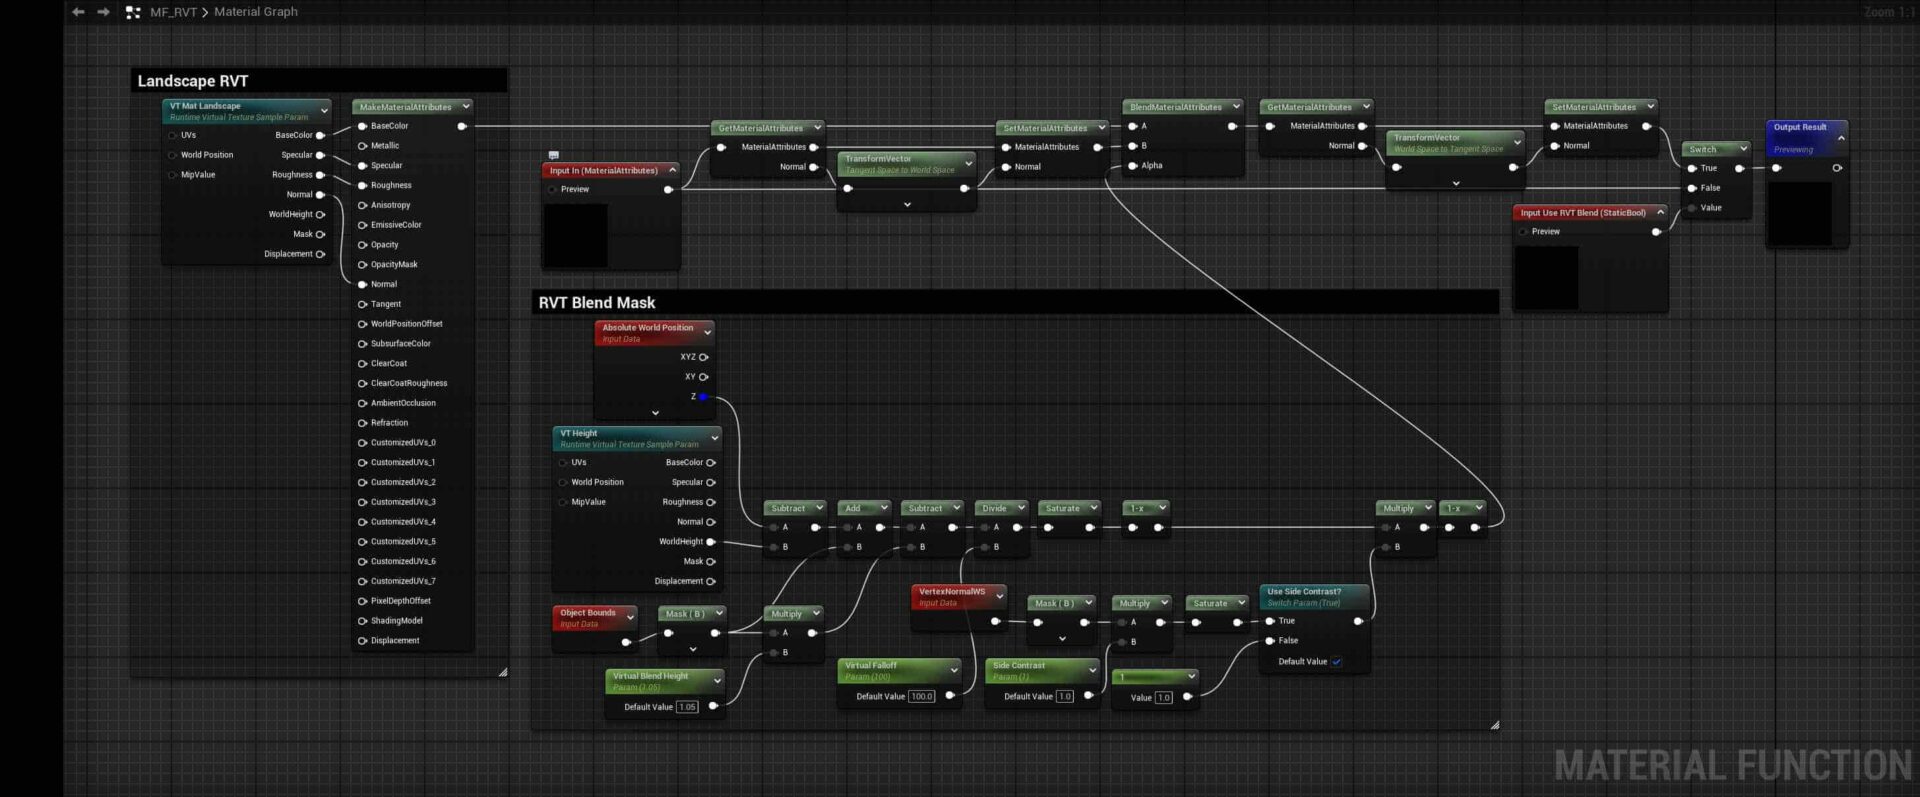
This blog post will break down the Shaders section of the Procedural Monadnock project. You will be able to see how shaders are able to harness data from the PCG Graph as well as a handful of handy material functions used throughout the project. I’ll also talk about the process and some problems I encountered throughout this section of the project. Link to Portfolio Post here:
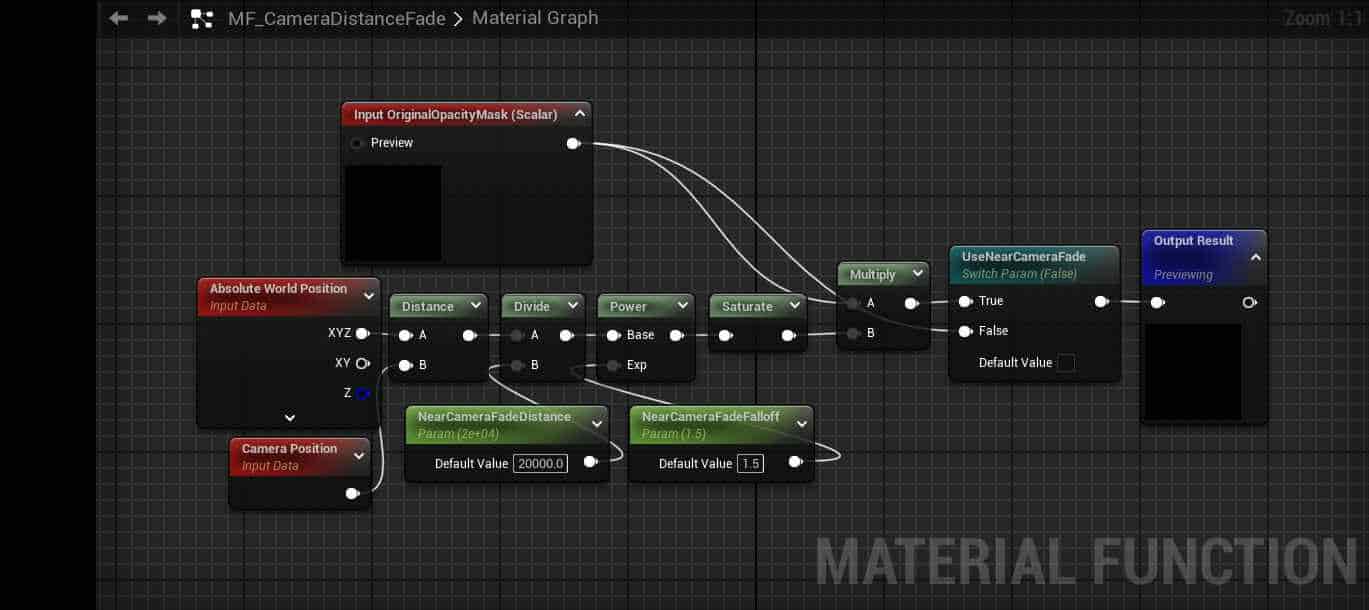
Custom Material Functions
Harnessing Data From PCG
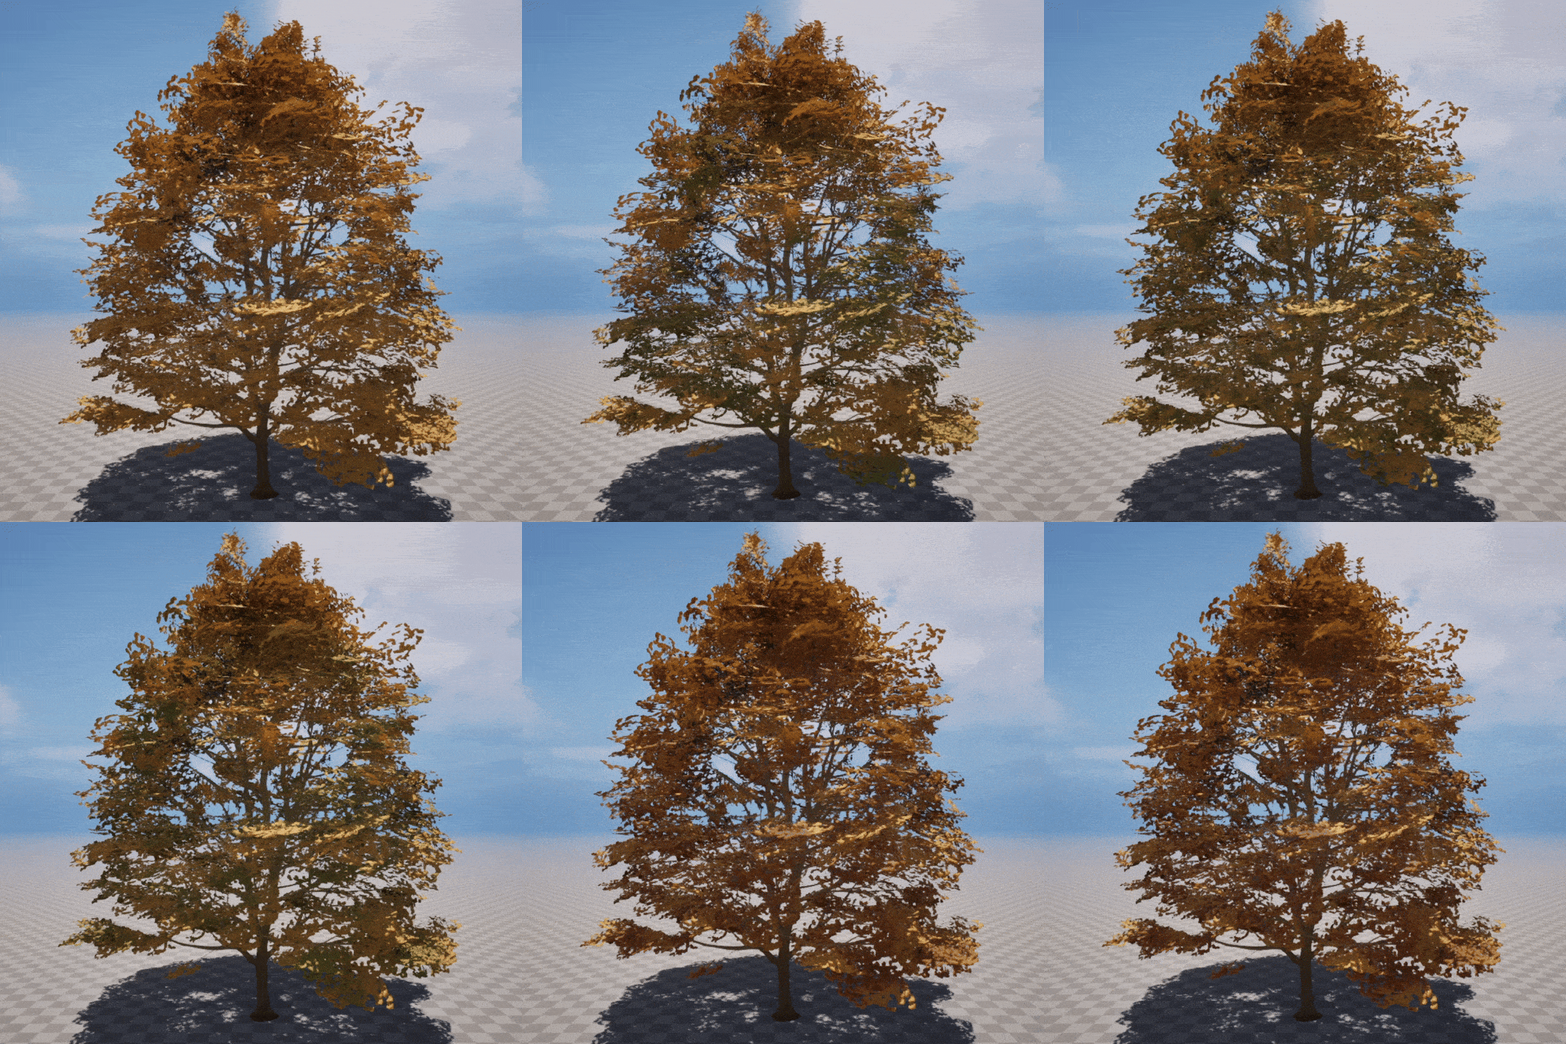
Each Layer Data Asset has a Color Data asset that contains an array of Colors. This array is processed by a custom PCG Blueprint, and assigned at random to a Vector 3 point attribute. When the mesh is spawned, that attribute’s data is packed into PerInstanceCustomData. That color data can then be accessed in the material and blended.
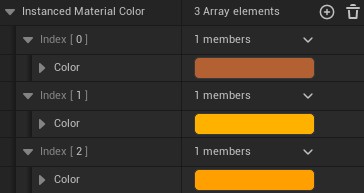
PCG Per Instance Color
Landscape Material
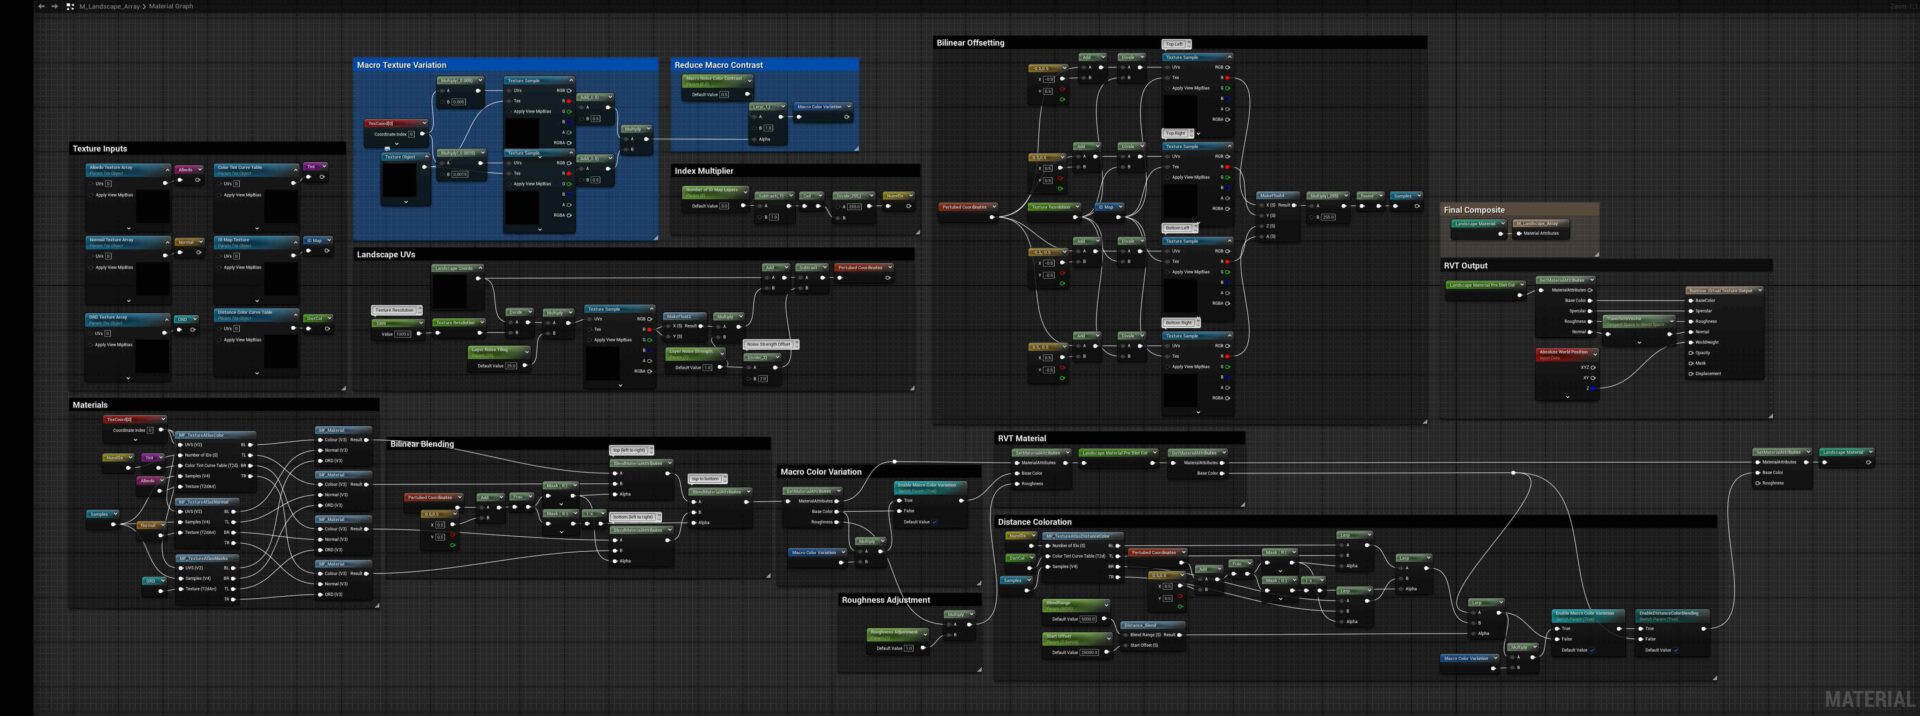
The Landscape Material is based on the same IDMAP that the PCG system works with, allowing you to customize the landscape color for each layer. This framework was built off of the one created for Project Pegasus by George Hulm. I’ve added the option for texture variation and a distance color blending.
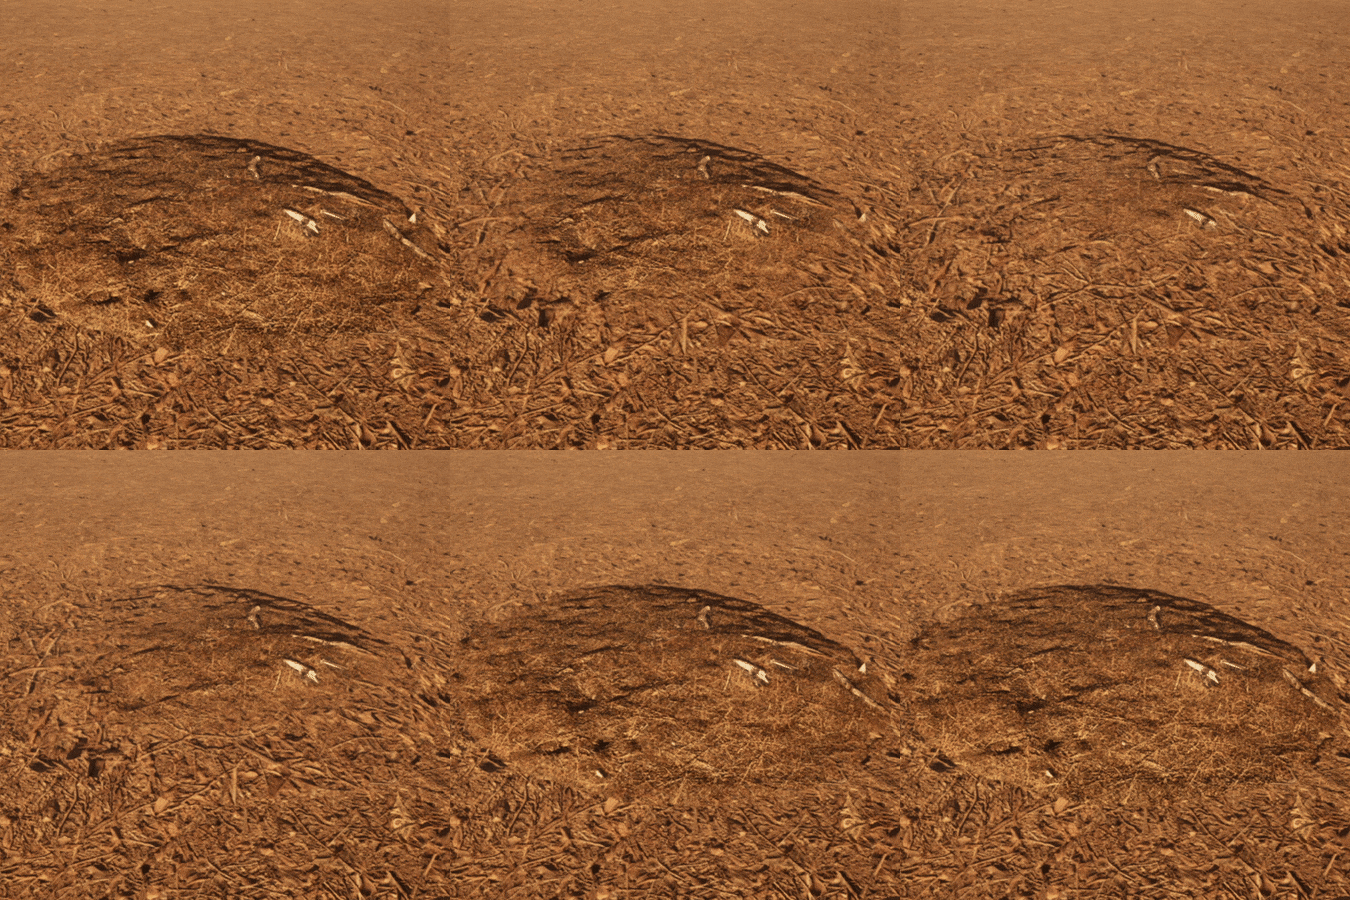
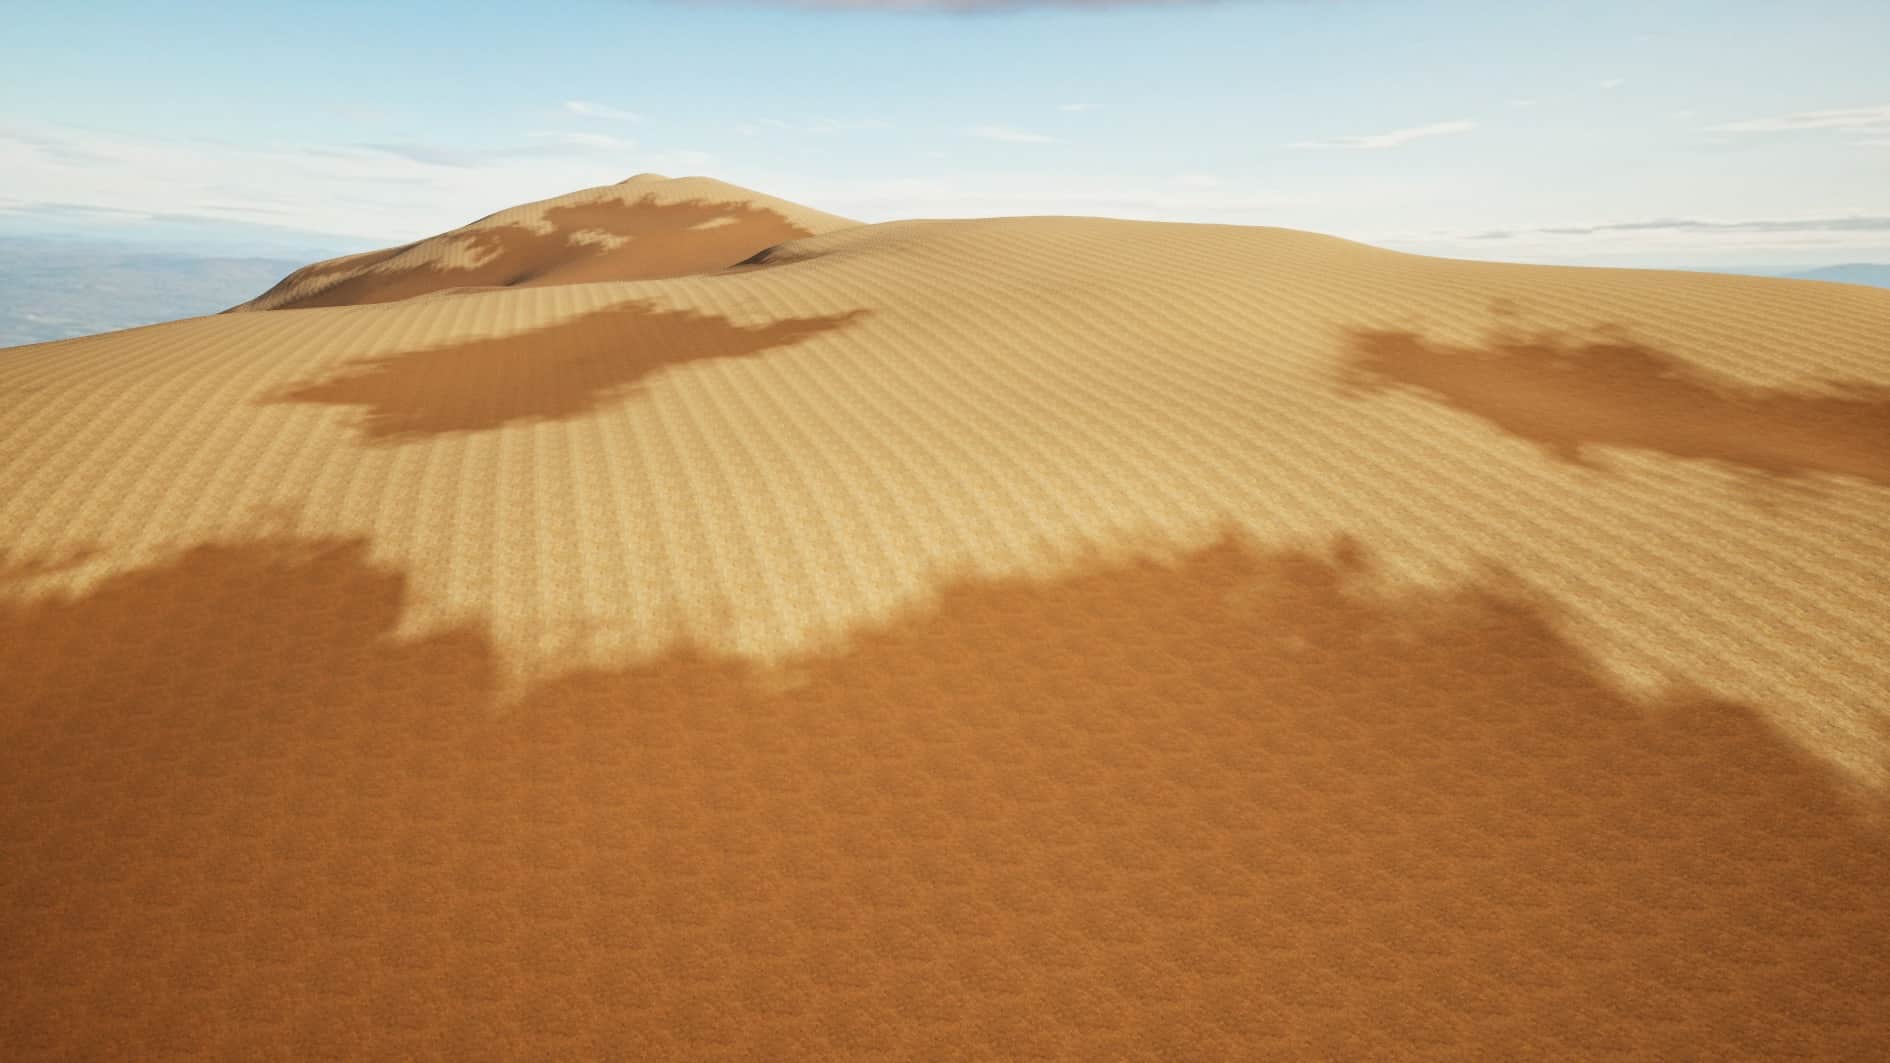
By using a texture array for the texture inputs, the amount of layers in each landscape can be easily scaled without having to edit the Master Material. By using UV texture variation and Macro Color Variation I was able to break up the repetition of textures across the landscape.
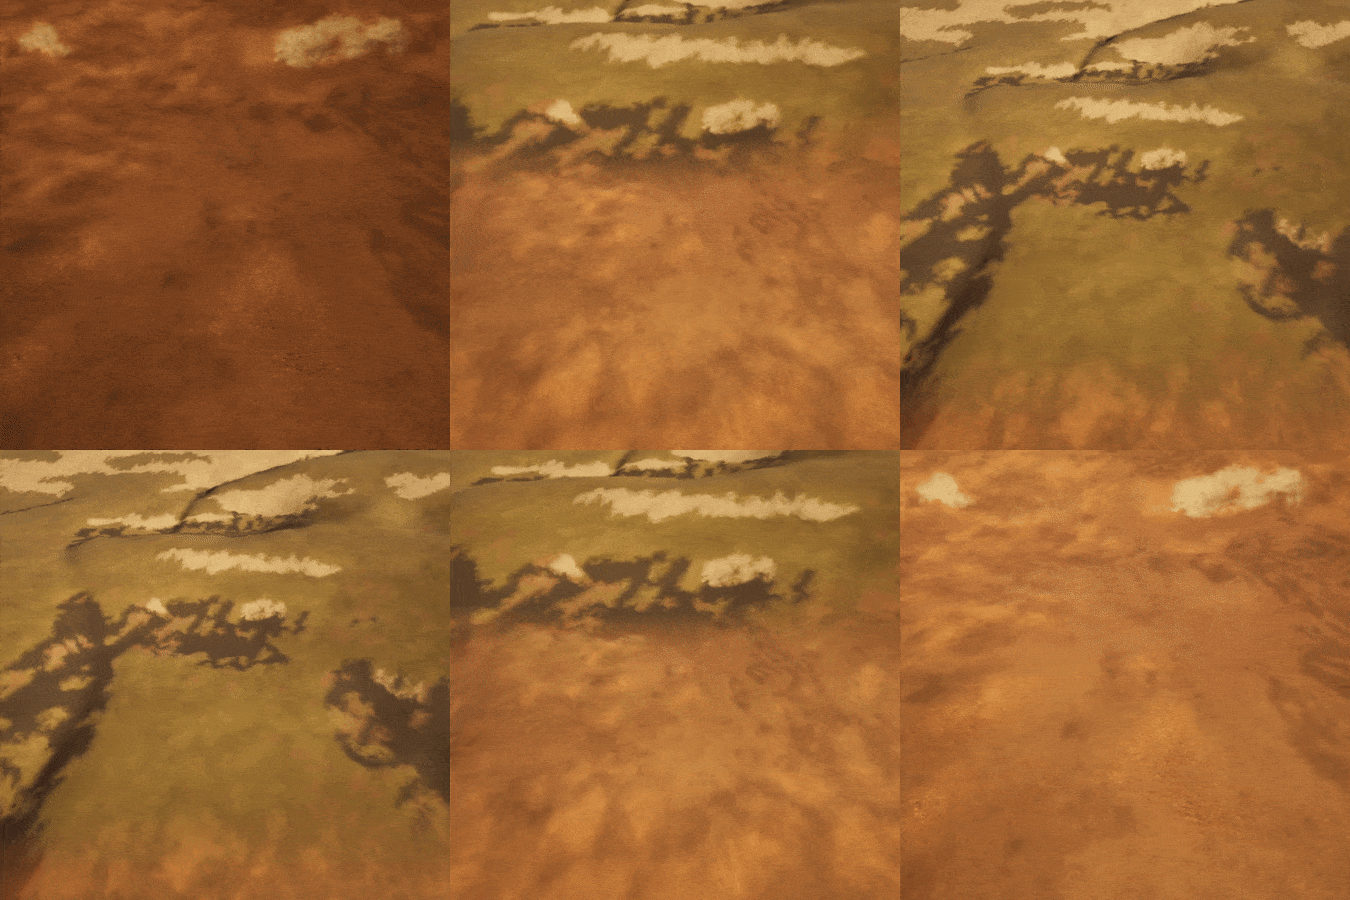
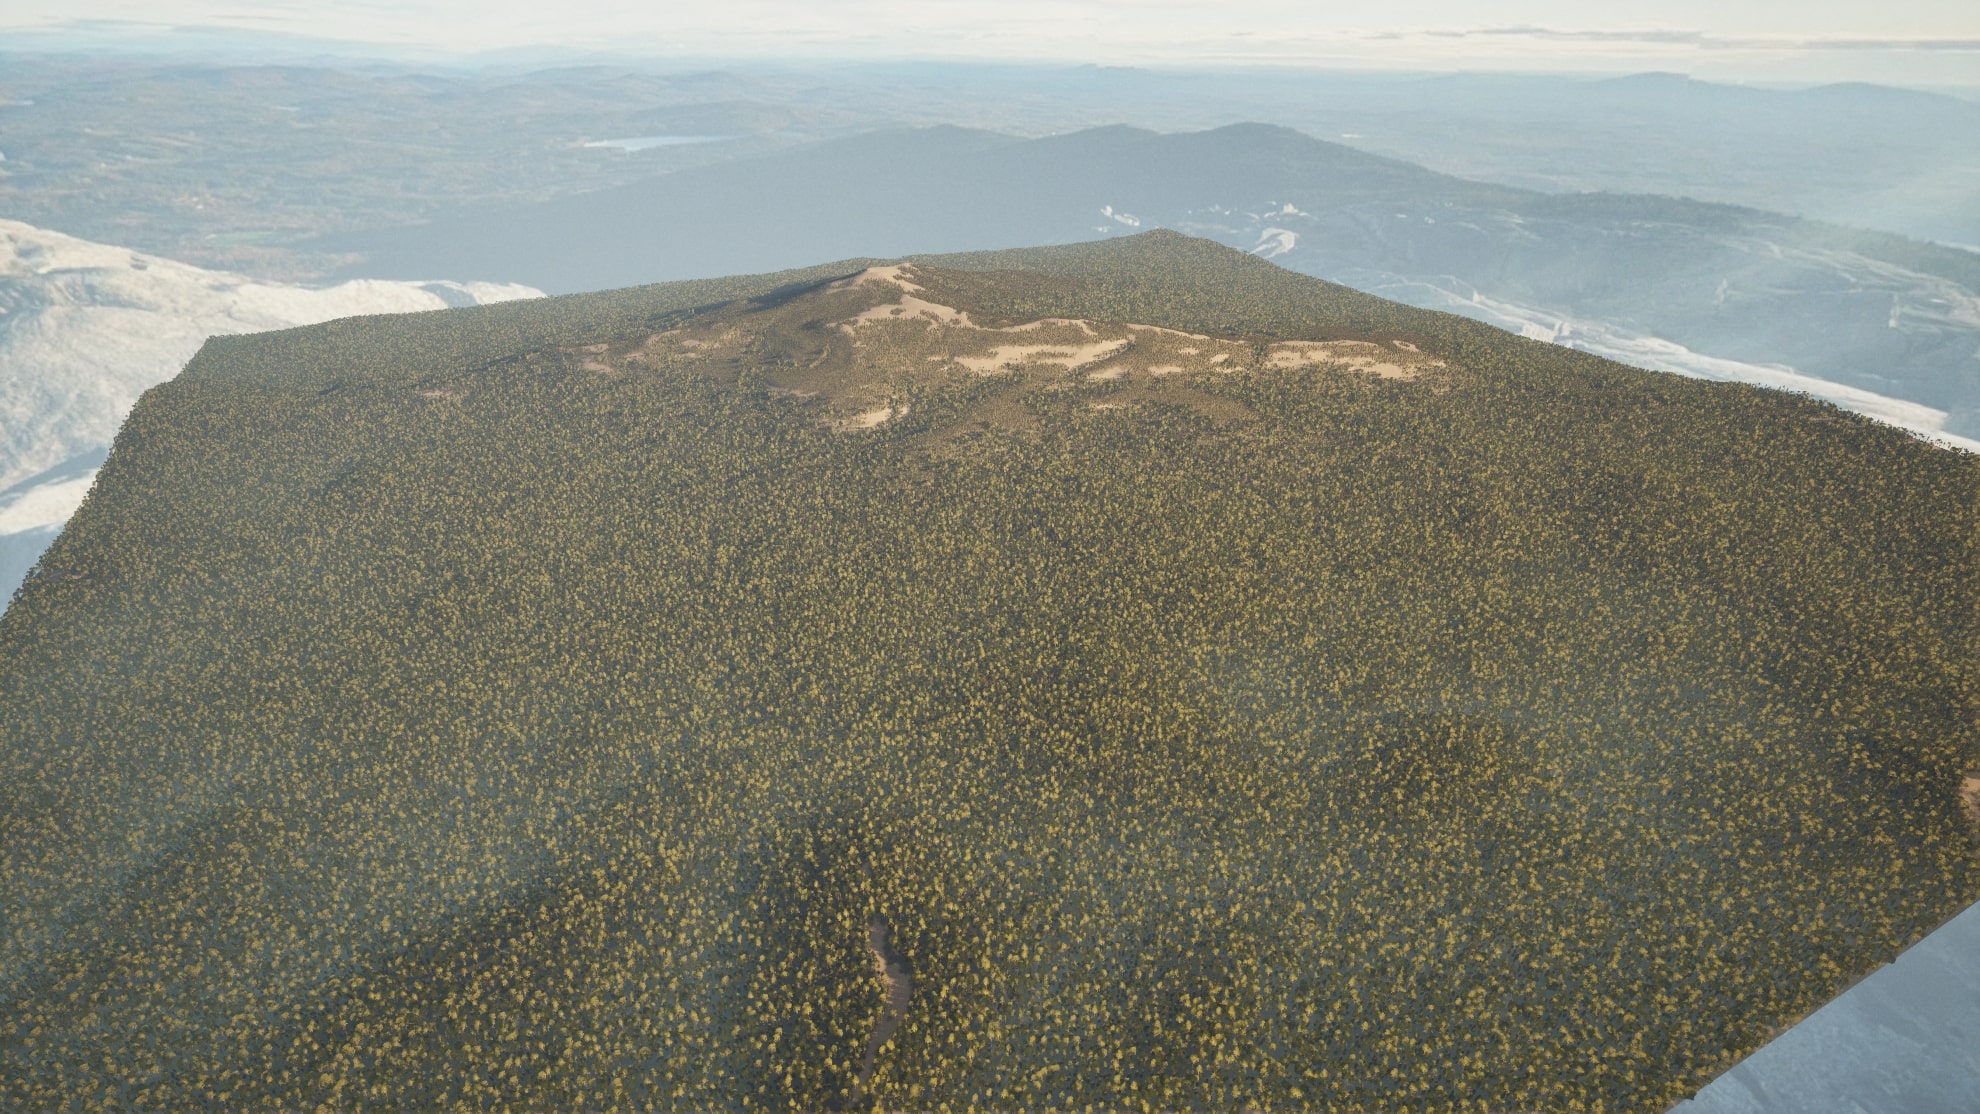
Distance Color Blending enabled me to adjust the colors of each layer based on a defined range using a curve, creating smoother transitions between the meshes and the landscape. For this project, I used this technique to blend the pine layer into the environment with shades of green, while darkening the maple layer to enhance shadow depth at greater distances.
