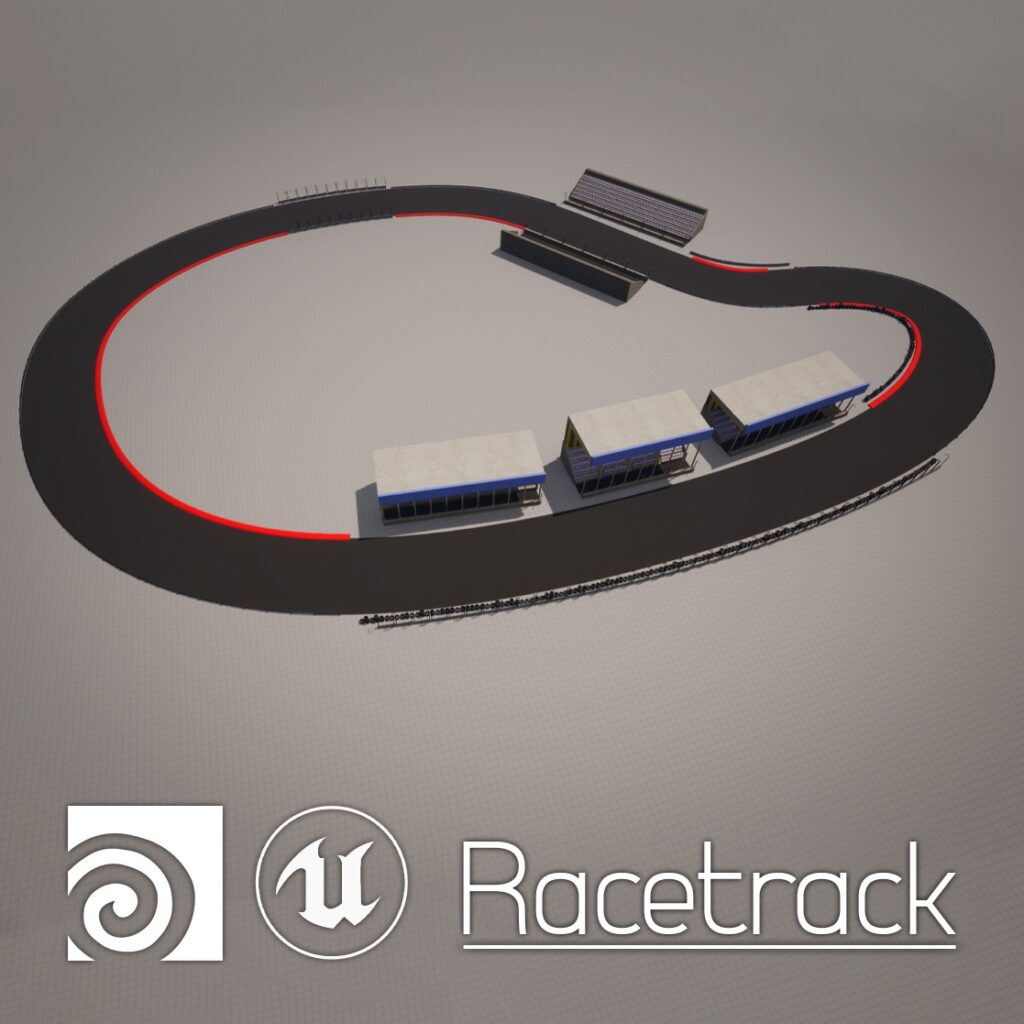
This blog post will breakdown the Track from the Racetrack Toolset created in Houdini. You will be able to see the construction of the tool. I’ll also talk about the process and some problems I encountered throughout the project. Link to Portfolio Post here.
Construction
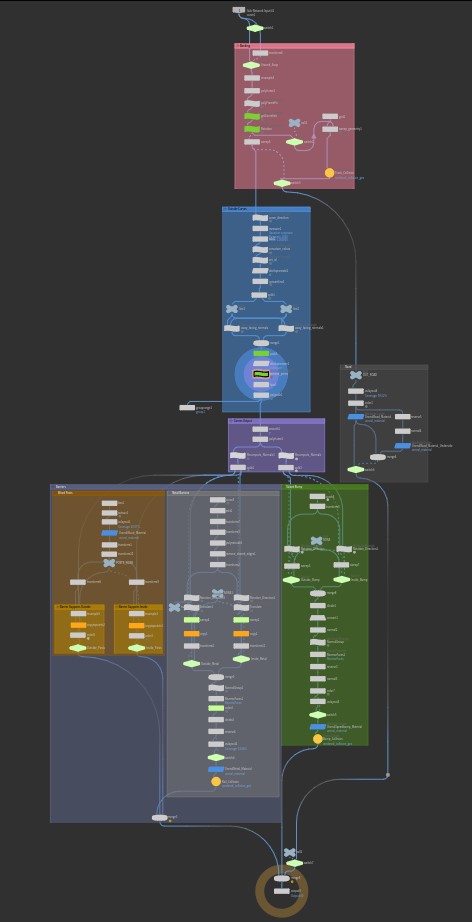
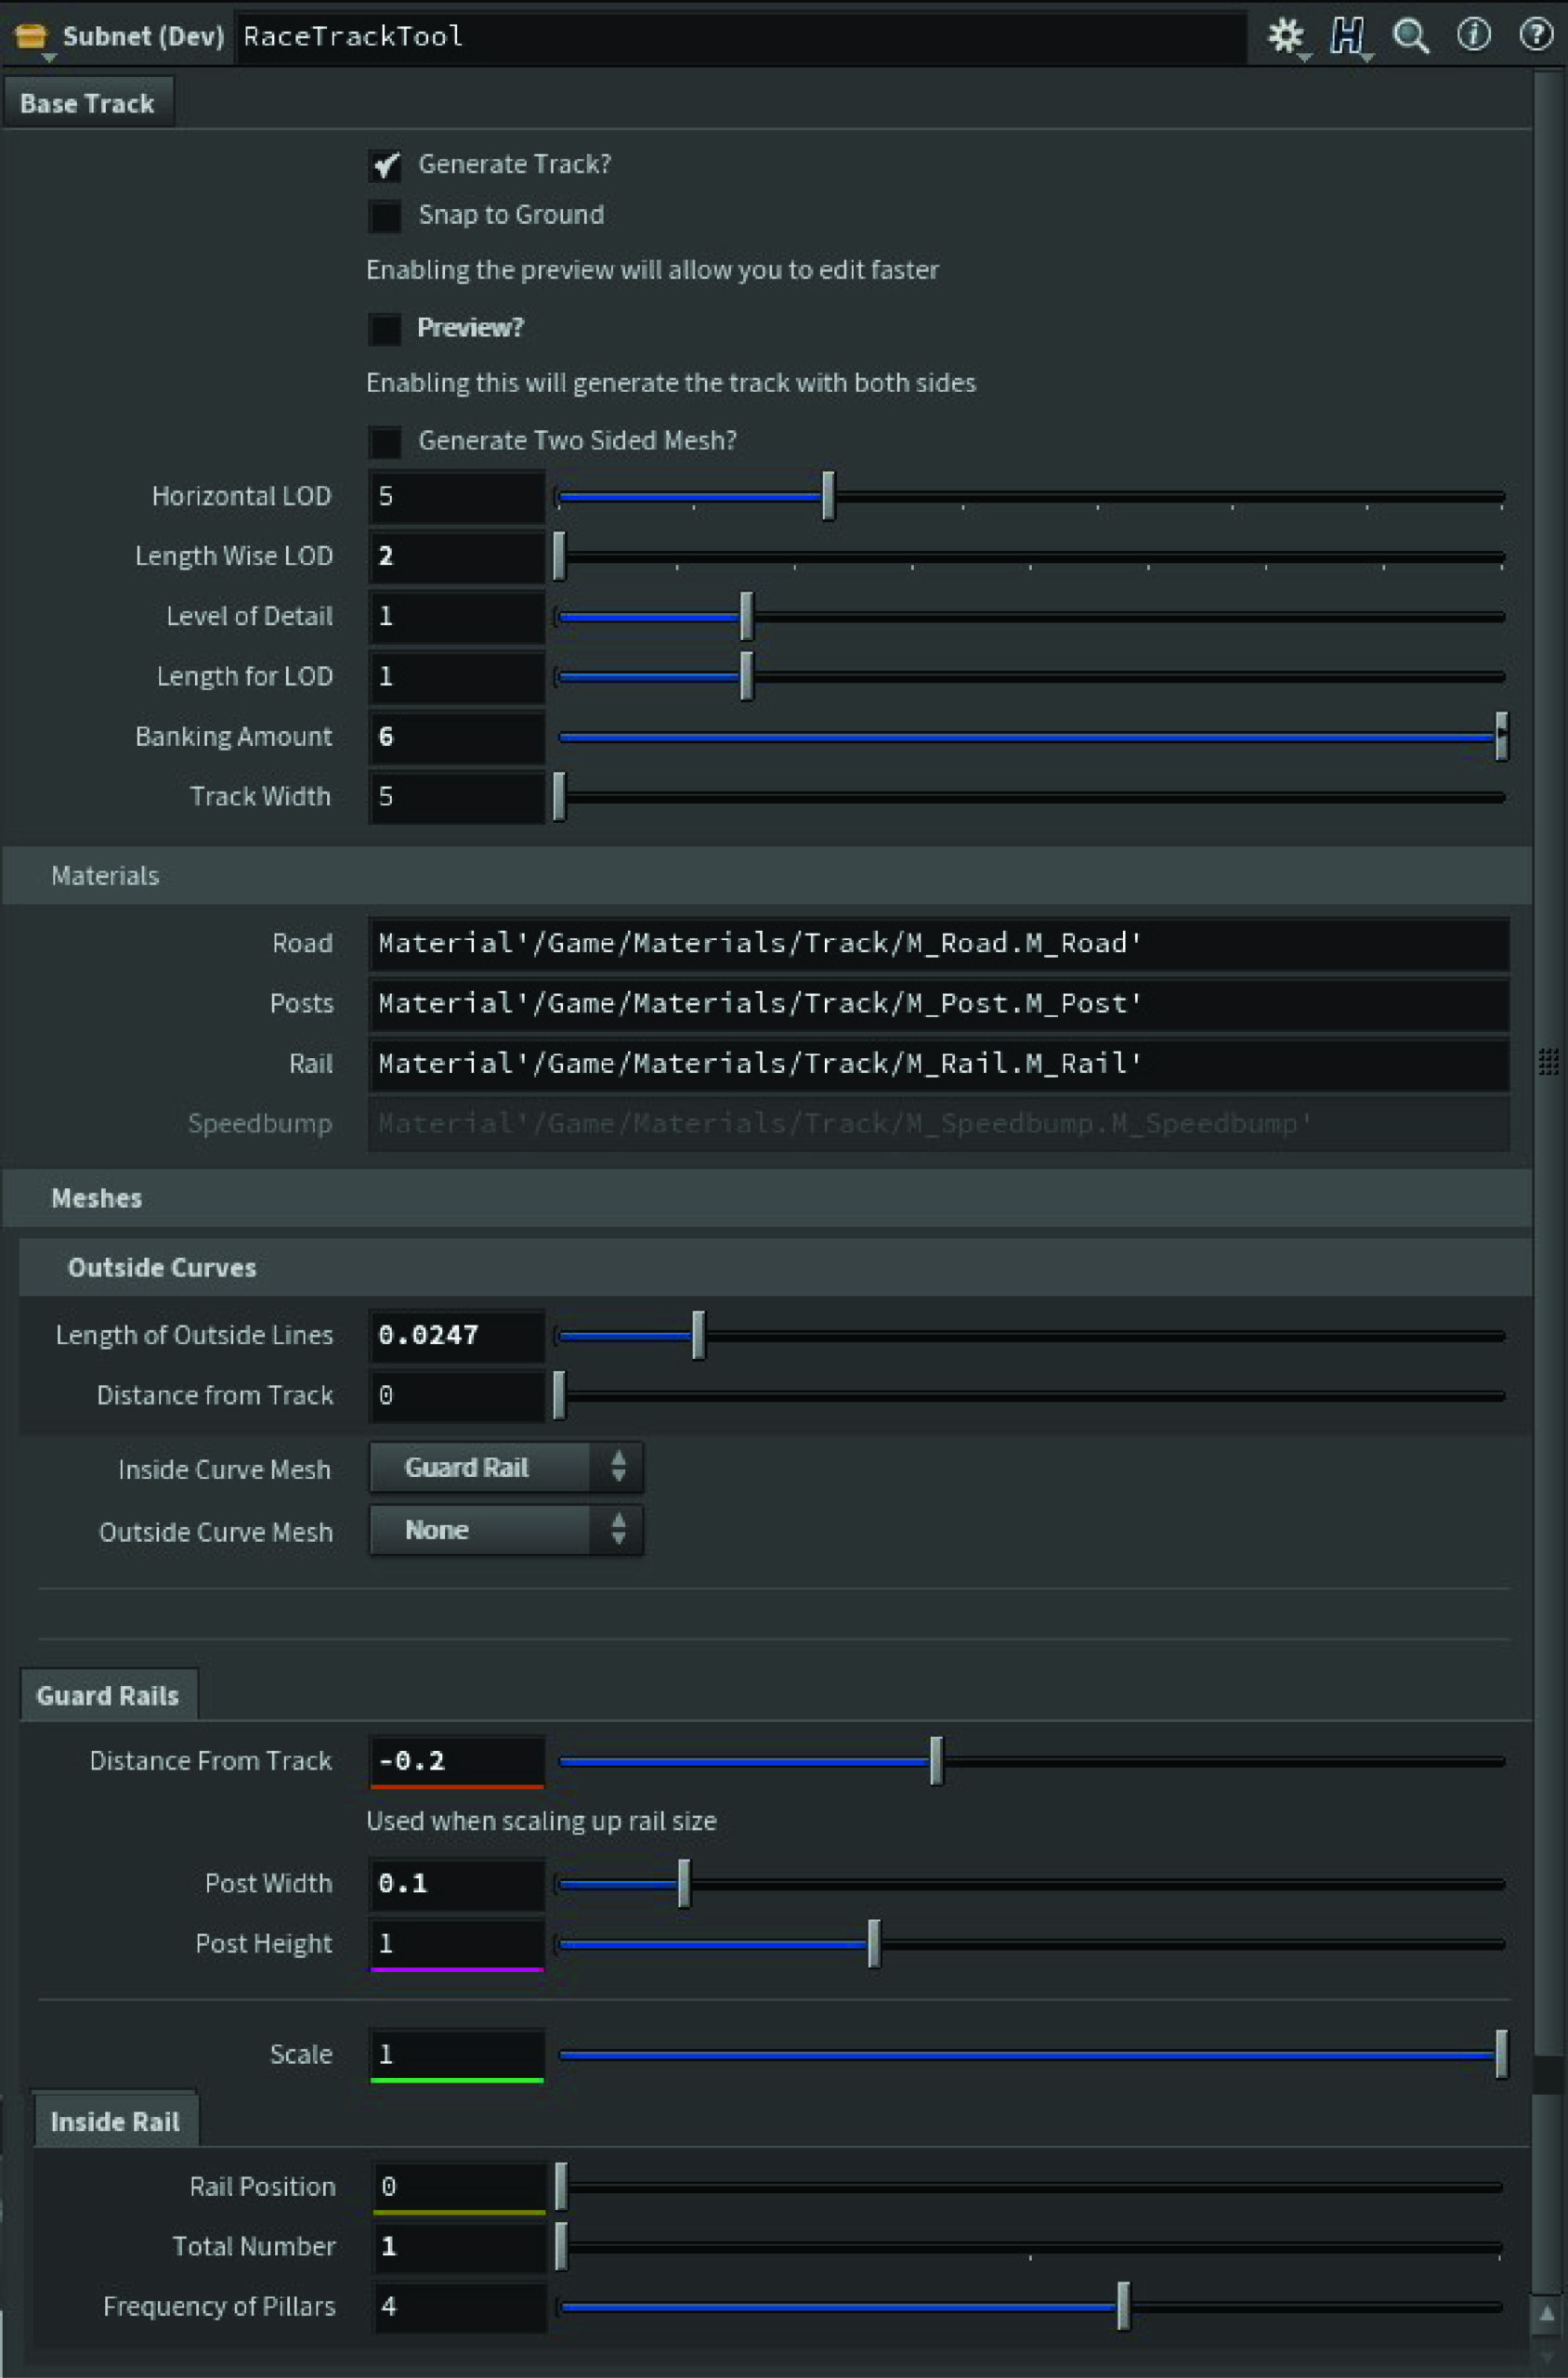
This entire system is built on a curve based input. From that input the curves banking angle is detected and a road is placed. After that two curves are created on either side of the track. These curves are determined based on their angles, the minimum angle can be adjusted by the user. A lower value means that more barriers are placed on a slightly curvy track. The more harsh turn results in a higher angle. All the meshes are created or placed based on curve normals.
I also want to contribute a lot of my understanding of Vector Math to Part 9 of the JoyOfVex Houdini series. As well as the Indie-Pixel Youtube channel.
Vector Math for Banking
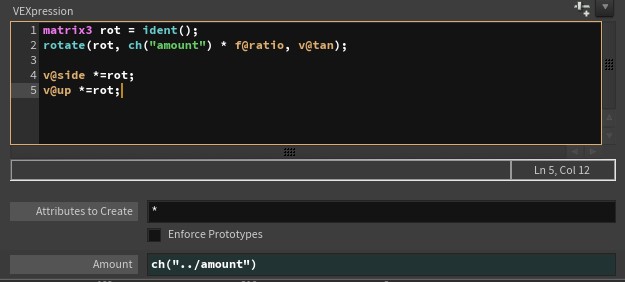
The banking angle is created entirely in VEX. Below is the steps I took in order to make it:
Harsh turns are going to have sharper angles than flat straights. In order to get this effect you have to handle the banking on a point by point basis. The VEX code finds the position of each point, as well as the cross product of the Up and Tangent Vector. It then calculates the length between the points and the cross product. A ratio is then calculated using the difference of the vectors divided by the distance between the points positions, minus 1. This bit of code is then used to adjust the intensity of the banking:
Vector Math for Barriers
First you have to calculate the curve direction. This can be done by using this bit of VEX.

I then use a measure node to detect what is an inside curve and what is an outside curve. The distinction is what allows me to have the rails and speedbumps facing the right direction.
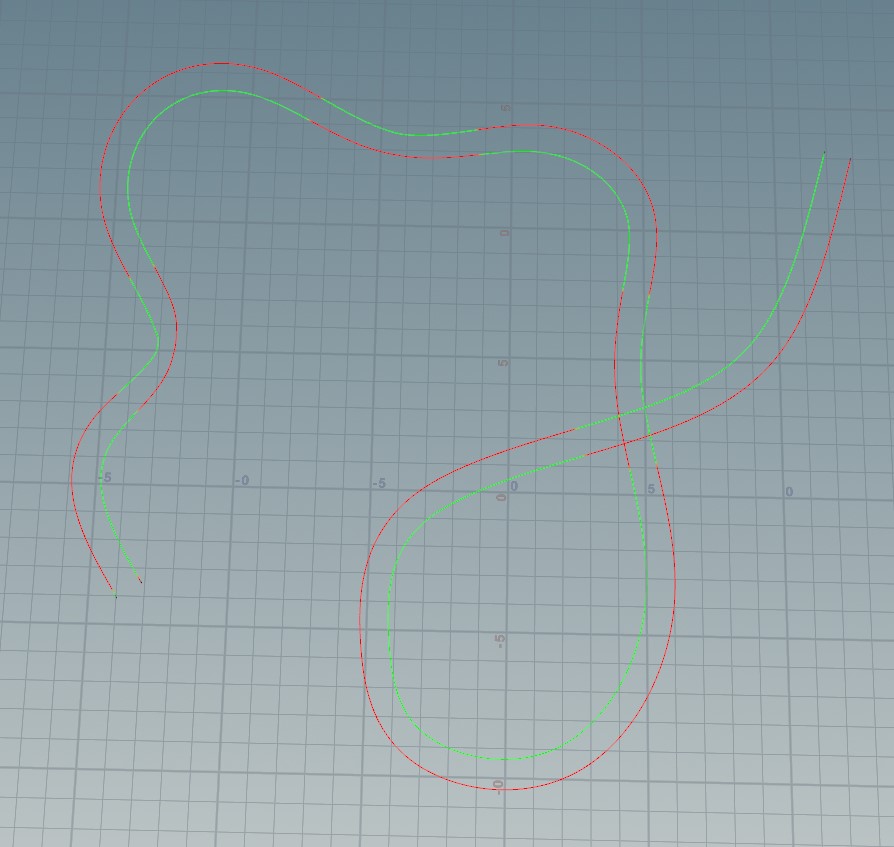
From this the primitives in the line are then removed based off a minimum angle that the user can change. This allows you to control the length of each barrier along a turn.
Collision
All the collision on the track is using three sets of complex collision. The track, the rails, and the speedbumps all have collisions. The Tracks LOD can be adjusted to increase/decrease collision accuracy.
Texturing
The tool has five total textures. All meshes are UV’d in Houdini so materials with detail can be used. The track uses a single square texture, this means that the material can be edited very easily. At the moment it s using asphalt, but it could easily be changed to dirt or snow with a single change in the material editor. All materials are created in UE5.
Problems Encountered
Out of all the other tools in this toolset, this one came with the most problems with development.
Breaking Barriers
There is a node system in place that allows for the rails to be moved away from the track. In order to do this I used VEX to normalize the position of the points on the curve, minus the position of the curve on the opposite side of the track. This resulted in curve normals that were pointing away from each other, and with a Peak node I could now control the distance from one another. A problem arose when I began reducing the curves to shorten the barriers. This resulted in an un-even amount of points on the inside and outside curves, resulting in some points not being moved
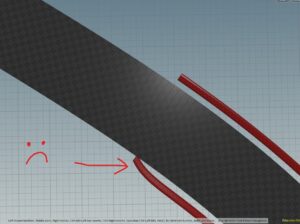
The solution to this problem was actually very straight forward. I simply put the nodes that changed the distance from the track before the ones that removed the prims and it worked!
Clipping
Originally I was using the generic sweep node to create the track. This came with some benefits, the most notable being the speed at which the node outputted a result. But it came with some glaring issues. UVing this road is much more difficult and every method that I tried resulted in a low resolution output. Another issue was the clipping of the track’s mesh at sharp angles.
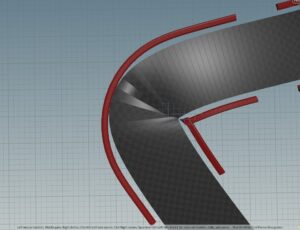
Luckily for me the wonderful people at SideFX Labs were having the same issue, so they created their own sweep node. This fixed nearly all the clipping problems, although there is still limits on how sharp you can make the angle before it starts to break. This node also allowed for the sweeping of a single grid. This means that I could use a single square to UV and texture the track rather than UVing an already swept mesh.
Optimization
Like many other tools that I make in Houdini for use in Unreal, I try to consider how easy it is for the user to use. Users do not want to be waiting for tools to compute. It should be as easy as placing points and tweaking your output. In order to do this I ended up using the sweep node that was causing the clipping issues as a preview mode as it took much less time to compute. Once users were happy with the layout of the track they could then toggle a switch and a UV’d track without clipping would be generated.
Node Graphs
